> For the complete documentation index, see [llms.txt](https://docs.bimcat.org/llms.txt). Markdown versions of documentation pages are available by appending `.md` to page URLs; this page is available as [Markdown](https://docs.bimcat.org/user-manual/usage/tallycat-beta/export-to-ec3-synchronize-with-ec3/ec3-builder-support.md).
# Web Builder Support
After exporting a Revit project, Web App will attempt to detect which building elements could be refined by the **Web Builders**. These builders are a set of helper tools which allow you to automatically recognize and refine typical assemblies. For example, a single **Concrete** layer could be turned into **Reinforced Concrete**, a **Metal Stud** layer mass could be calculated according to its volume and other properties, etc.
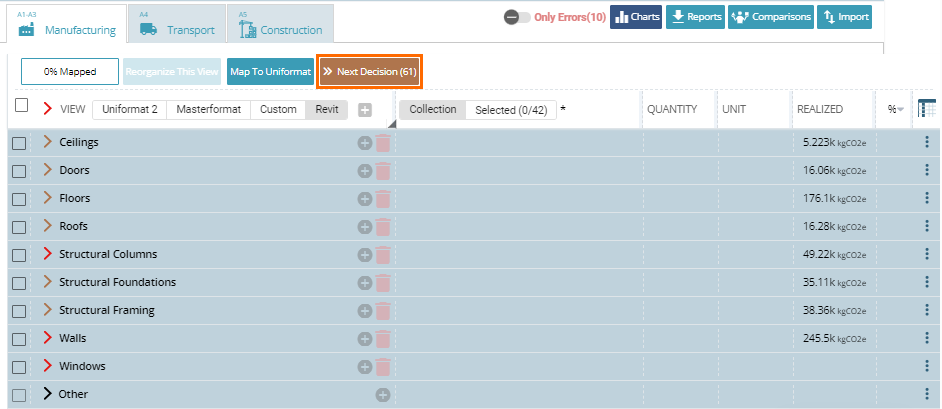
To use this feature, after opening an exported web project in a browser or using the [Open in Web App](/user-manual/usage/tallycat-beta/open-in-ec3.md) window, click the **Next Decision** button in the [Revit](/user-manual/usage/tallycat-beta/export-to-ec3-synchronize-with-ec3/ec3-export-results-overview/revit-view.md) or [Custom](/user-manual/usage/tallycat-beta/export-to-ec3-synchronize-with-ec3/ec3-export-results-overview/custom-view.md) view.
It will highlight the next element is proposing to apply a builder to.
For example, in this case it's a **Concrete** layer which could transformed into **Reinforced Concrete** by automatically adding a rebar. To do this, click the layer's quantity.
You will see two options: **Concrete By Area** and **Concrete By Volume**, so you can choose which dimensionality to use for this layer.
After clicking either of them (for example, **Concrete By Volume**) the builder dialog will open allowing you to choose how to calculate the required amount of rebar for this element.
By clicking **Add Rebar By Concrete Volume, Add Rebar By Reinforcing Ration** or **Add rebar By Length**, you'll make the builder to automatically add a Rebar layer for the Concrete layer using the selected principle to calculate the quantity.
By clicking the **Accept** button you'll confirm the calculated quantities and get the reinforced concrete assembly.
The EC3 Builders could help with **Metal Stud** layers too.
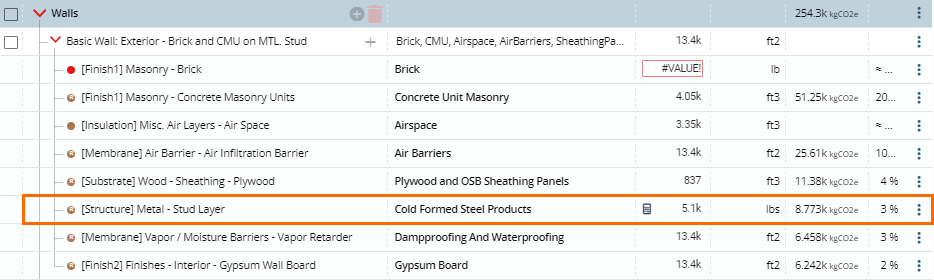
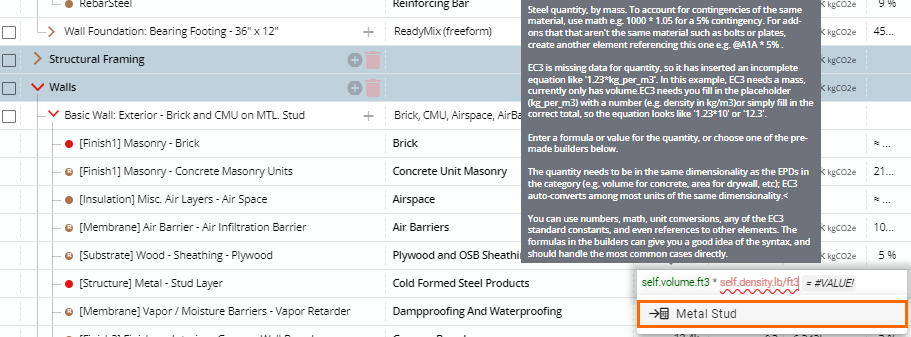
After the export, Web App often is unable to reliably calculate the quantity of such layer, because it lacks material density. In this case, instead of quantity, the **#VALUE!** error is displayed in the quantity filed.
After clicking the quantity field of such layer, you can apply the **Metal Stud** builder to it.
It will help to calculate the realistic quantity.
After clicking the **Accept** button, you will get the properly calculated **Metal Stud** layer.
Apart from proposing to apply a builder, the **Next Decision** button also highlights other problems in the project, like missing quantities or EPDs, lacking an accurate material category, etc.
%20(1)%20(1).png?alt=media)
%20(1)%20(1).png?alt=media)
%20(1)%20(1).png?alt=media)
%20(1).png?alt=media)
%20(1).png?alt=media)
%20(1).png?alt=media)
%20(3).png?alt=media)